The floor in any outbuilding is often open to rain and water damage and will rot quickly. Always (https://sheddrafts.com/8x10-lean-to-garden-shed-plans-blueprints) include pressure-treated lumber in the diy shed assembly drawings when putting together the floor frame of the outhouse. By including green lumber in your garden outhouse creation drawings you will guard against rot caused by repeated exposure to water. You will need mudsills and floor and perimeter band joists to build a outbuilding floor. The use of a mudsill is to rest it on your foundation and build the frame over it. Floor joists rest above the mudsill to support the shed's walls while the band joist closes it off from the outdoors. You can use plywood floorboards that are ¾ inch thickness to lie down atop the mudsills and joists. Three-quarter inch plywood is essential as anything more thin will flex and bend. Plywood that is tongue and groove is a little more expensive but locks together and makes the floor stronger. Secure everything with galvanized screw instead of using nails that can rust easily.
The framing of a outhouse is an important step in garden shed drawings because it stiffens up the plywood boards and supports the roof. You will want a lot of pressure-treated 2x4 wood pieces and a way to attach them. Cut the timbers to the shed plan's specified measurements for your back wall frame. Forming a frame is easy once you attach all the cut wood sections together with fasteners. Take care to square your frame and all points of the crafting process. Support your wall by placing more 2X4s every two feet in the interior of the frame. In order to decrease weakness in your outbuilding’s frame you can add flat sections of wood flush against the frame. Once completed with the back wall turn it over and you will be ready to mount it. Follow suit with the remaining walls and be sure you are leveling the angles at all times. Once the back wall has been affixed you can raise all 4 exterior walls.
Condensation in your outbuilding can reduce the length of time your structure lasts. The growth of mold and mildew is encouraged by too much moisture around your shed. The easiest way to guard against decay is to (slant roof garden shed construction plans 10 x 4) make sure there is plenty of air movement around your shed. According to shed creation schematics the lowest wood member should be built a minimum of 6 inches from the compacted ground. Fresh air will be able circulate underneath and prevent moisture from accumulating under your shed. In addition one should leave at least one yard of room around all sides of the shed. Proper space around your outhouse will give any wind the opportunity to help keep the shed dry. Without the shadow of trees over the outbuilding you will also permit sunlight to destroy any moist environment. Having clearance area around the shed also makes it easier to clean and make repairs. If you have a small space to work with try installing vents to help with air flow.
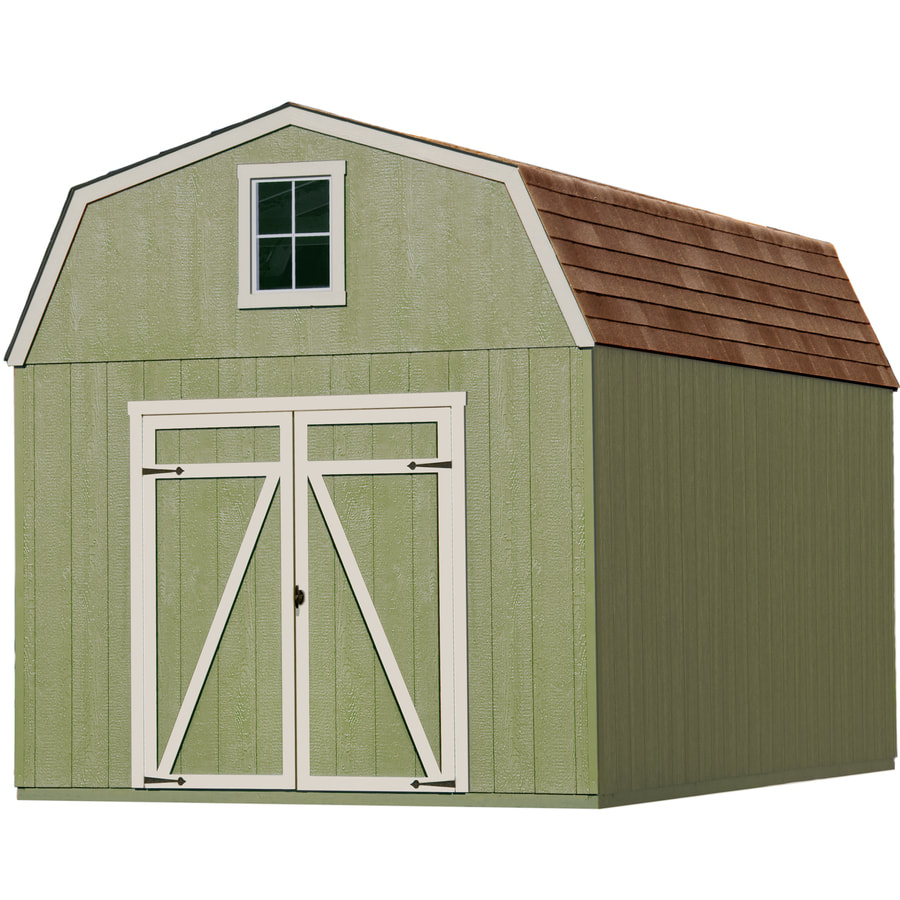
Sliding doors and hinged doors are the two most regularly installed in sheds. Hinged doors take up less space and close more tightly and securely. Use doors that slide when making your outbuilding assembly schematics because sliders can tuck away and are simple to mount. However sliding doors do require more wall space than hinged doors. For smaller outbuildings it is recommended to use a single door with hinges. The longest side of your shed is the best placement for any door you choose. The most helpful tip when fitting any door is to measure at least two times before cutting. It is important to have accurate dimension or the door will not fit properly. Look in any home center to find a multitude of hinges made from various materials. Be sure to use two to three sets of secure hinges for a heavy door. Comments are closed.
|
Archives |
 RSS Feed
