In your outbuilding diagrams you will need to decide between hinged or sliding doors. Hinged doors take up less space and close more tightly (https://sheddrafts.com/garage-shed-plans-blueprints) and securely. Installing sliding doors is a simple task and they look really nice. Sliding doors will require a lot of wall area in order to function correctly. If you do not have much space it is best to build or buy a simple hinged door. The longest side of your outhouse is the best placement for any door you choose. Be sure to measure the opening to your door twice so that you have an accurate dimension of height and width. Nothing is more irritating than having a door that is ill-fitting. If you decide to use a hinged door there are many different styles available. If you use hefty sized wood for the door opt for extra tough hinges.
The roof trusses will be an important element in the shed drawings because they support the plywood and shingles that make the roof waterproof. For easier installation it is best that you assemble all your timber on a concrete floor horizontally. During build-up be sure that there is no chance of rain so that none of your work gets wet during the process. The traditional way of designing a roof requires a lot of time on a ladder fastening separate rafters. With prebuilt roof trusses you will cut out most of the work on the ladder. Most trusses will come with two manufactured rafters attached to a joist. All parts of a truss are held together with plywood gusset plates. Position your trusses at least sixteen inches apart when installing. Manufactured roof trusses in standard sizes are inexpensive and easy to use. Any building center or lumber work area should carry different options for trusses.
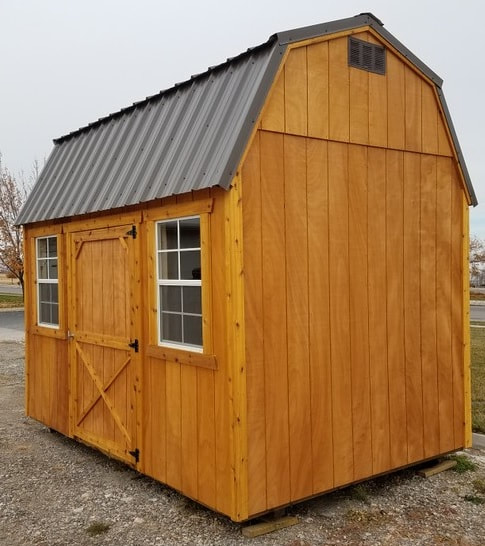
You outbuilding making plans can include the growing popularity of treated wooden outbuildings. High-density polyethylene combined (saltbox 6 x 14 backyard shed building blueprints) with wood creates an outbuilding that is resilient and sturdy. Treated wood outbuildings are UV-protected and stain-resistant so they will not crack or fade. Producers of manufactured wooden sheds have many size options and kits for outhouse extensions. Using a wooden outbuilding kit is an easy task and it costs less than its plastic or metal counterpart. Wooden outbuildings are extremely strong and can bear a lot of weight on their walls. You can also purchase a outbuildings that include overhead storage spaces. For ultimate strength and durability buy a wooden shed that also uses integrated steel supports. There are several different models of wooden sheds so you can pick the perfect one for you. Upgrading your prefabricated outbuilding is easy with accessory options like skylights and shelving.
You must frame the exterior walls of your outbuilding for full support and stability. Necessary materials for framing include 2X4 timbers and attachments such as nails. Start by cutting the wood for the back wall to the size you want according to your outhouse crafting drawings. Forming a frame is easy once you attach all the cut wood sections together with fasteners. It is very important that you ensure all sides of the frame are level with each other. Once the wall is level you can support it by spacing the remaining 2x4s two feet apart from each other inside the frame. Add ¾-inch plywood to make your frame sturdier and more durable. When the rear wall is built flip it over to have it in the correct position to stand. Follow suit with the remaining walls and be sure you are leveling the angles at all times. Stand and attach your back wall and then the sidewalls and finally the front wall. Comments are closed.
|
Archives |
 RSS Feed
