Water is a wooden outhouse’s worst enemy and can rot and ruin your structure quickly. Moisture can breed mildew as (https://sheddrafts.com/plans-index) well as rot your outbuilding’s framing and doors. When the outbuilding construction schematics allow for proper air circulation around the outbuilding you can prevent decay and growth of fungus. A great way to stop water from ruining your shed is to build it at least half a foot above the earth. Air will have plenty of space under the shed to dry condensation and save the floor. Leave no less than two to three feet of empty area surrounding the outbuilding. sheds will remain damp if they are built in the shadows of trees and bushes. You can prevent a damp atmosphere where mildew loves to grow by making sure plenty of sun hits the shed. Having clearance area around the shed also makes it easier to clean and make repairs. If you have a small space to work with try installing vents to help with air flow.
If you want to use a outhouse for more than just storage you will want to include electricity in the shed crafting diagrams. The number one rule when working with wire and electricity is to be safe. Easy and especially safe cables to use when running electricity are steel wired cables or SWA. Running the SWA cable below ground is the preferred option as it will hide ugly wires. Choosing to bury your wiring requires that you place it a minimum of 3 feet underground. Your diy shed drawings can also utilize solar panels to acquire power in your outbuilding. Direct light must reach the solar panel for most of the day in order to provide sufficient energy. Most solar kits come with roof mounts that you can use to easily install the panel. When running the cable from the solar panel be sure that it is not crushed or bent. A wind turbine may be the ideal solution for remote outbuildings because they can be mounted at a high level where the wind is stronger.
Constructing a roof out of wooden shingles makes financial sense for small sized outhouses. Incorporate a wooden roof in shed building plans because they typically lasts 30 plus years and are a great investment in your outbuilding. Next attach a thick piece of constructing felt over the roof (barn 8 x 16 outdoor shed making diagrams) structure with staples and cut any excess away. Using shingles is easy because you just need to place them slightly overlapping each other. The easiest way to fasted the shingles to the frame is to use a nail gun. If you get really into it you could even use tar to fasten the shingles. Once the shingles go past the edge of the roof it will be time to cut them back. Continue to shape the roof's top as well by bending the shingles. Not only will bending the shingles over the roof make it last longer it will also ensure it against water leakage. Buy the thickest shingles you can find if you want to invest a little extra in making your roof durable.
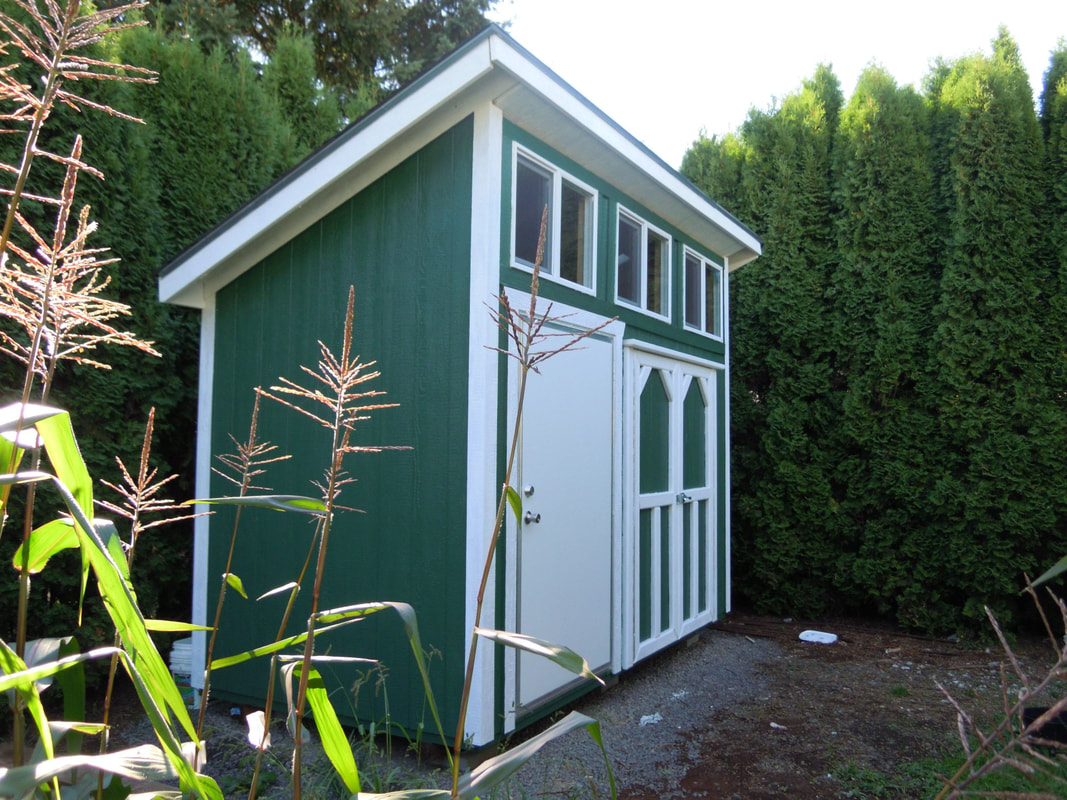
Exclude installing electricity in your outdoor outbuilding diagrams and use windows in order to brighten up the interior of your outbuilding. Wooden Shed drawings that have windows which face east or south will allow the most amount of light to enter. Barn sash windows add character and are the simplest windows you can get. You can find simple wood frames with single-pane glass in any home center. Installation of these windows is easy because you can install them upright or sideways. Don’t make the mistake of using too many windows as you can rob yourself of wall space. If you like lots of sunlight but need wall space for storage you can install a skylight. Luckily there are economical plastic dome alternatives to the classic and expensive glass skylights in homes. To install a plastic dome skylight simply make a space in the roof sheathing and nail the skylight into place. Place plastic skylights on the side of the roof that's least visible. Comments are closed.
|
Archives |
 RSS Feed
